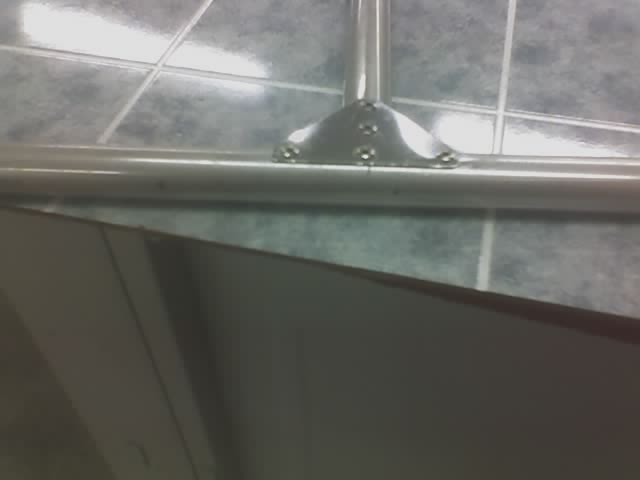
Examine all surfaces on the tail pieces for defects, sharp edges, burrs or loose rivets. Loose rivets from the factory are rare, but they happen sometimes during transit and we are about to bury them under the fabric. Sharp edges, burrs, etc. are the kit builder's job to deal with.
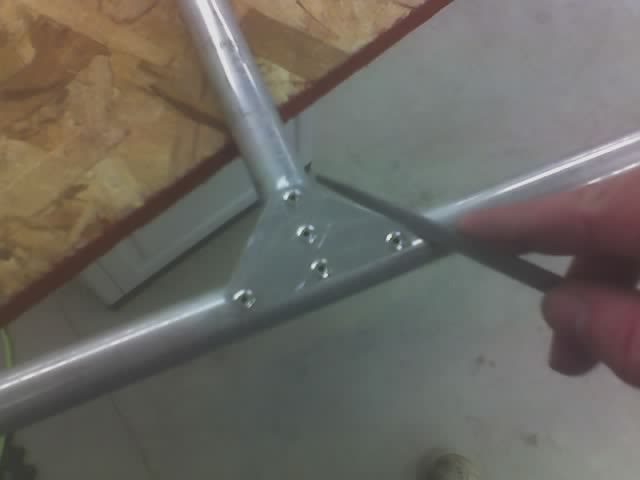
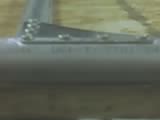
Use a triangular file to remove all sharp edges from the gussets and pipe ends. Do not nick the tubes. A piece of frog tape will often catch the odd slip.
Using a hammer and and a piece of bar stock or a rubber hammer, gently bend over the gusset edges so they are flush to the tube. Do not damage or deform the tube. If a rivet loosens, replace it.

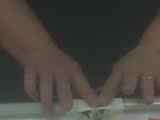
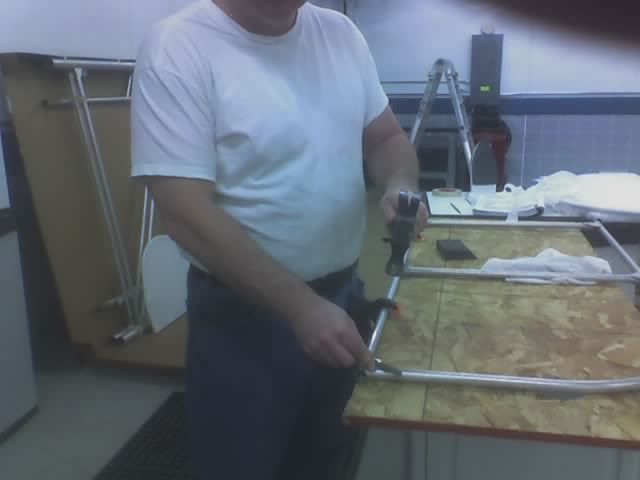
Next using a single layer of cloth athletic tape, wrap the gussets and the areas immediately around them.
Do every gusset and pipe end, for both top and bottom of the part.

This will prevent the sharp edges from chafing on the fabric, while providing a surface that can be adhered to with polytak. It also reduces the likelihood of burning through the fabric when ironing over rivets.
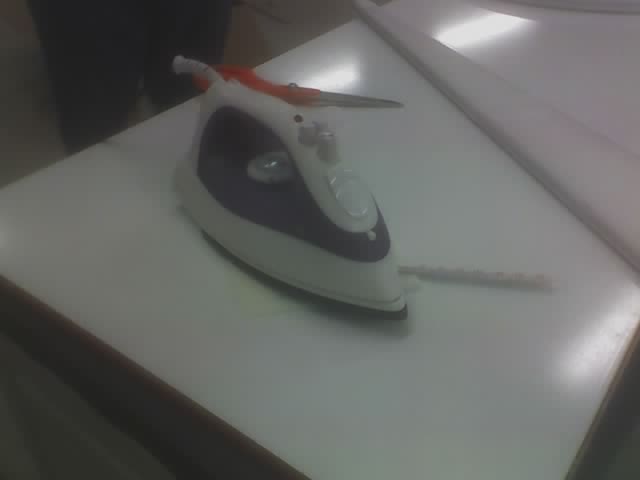
As it can take a while to set correctly, begin heating iron to 250F.
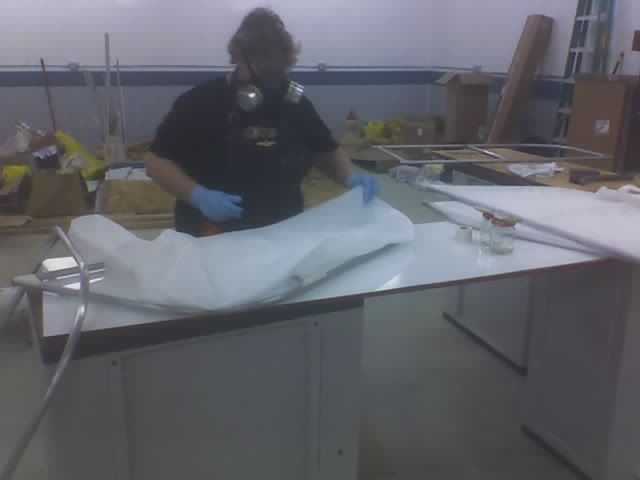
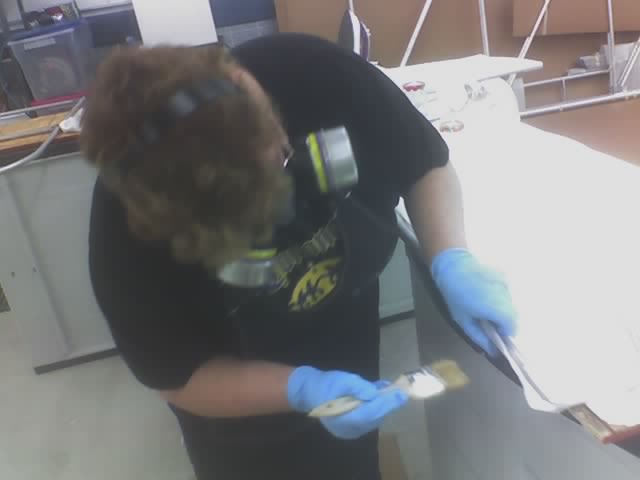
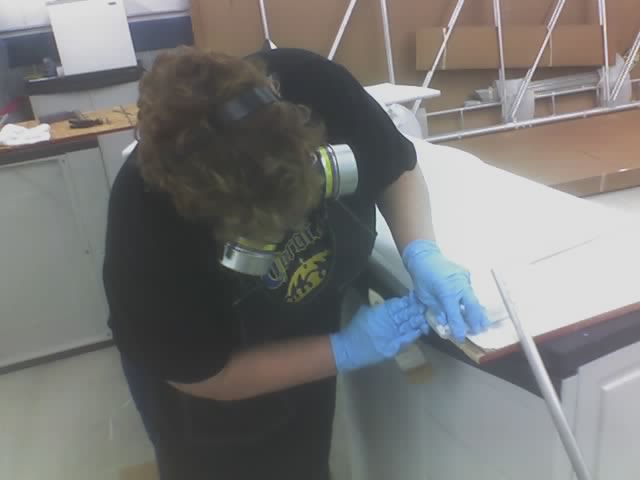
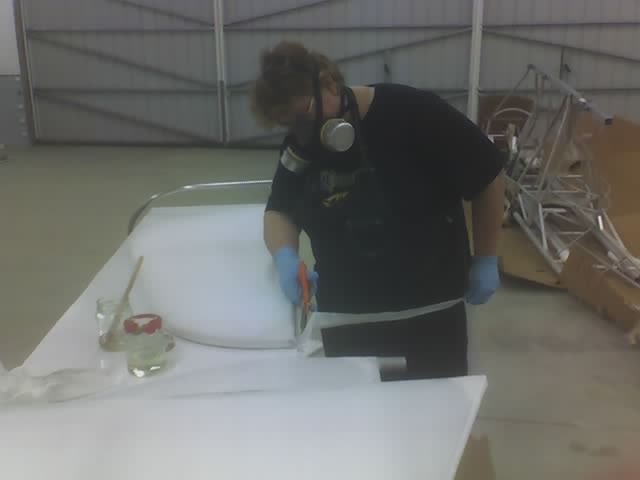
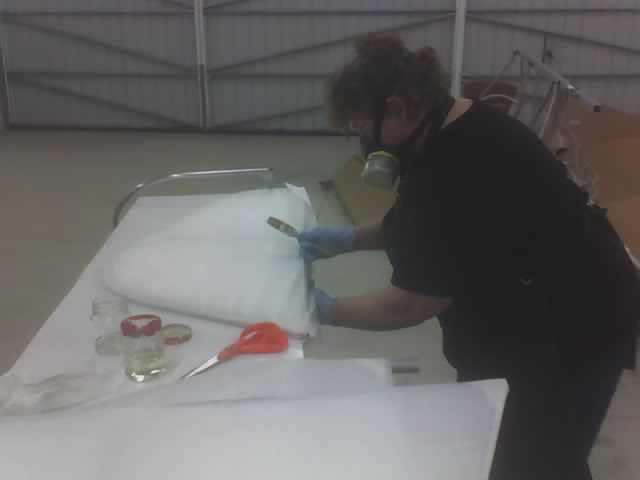
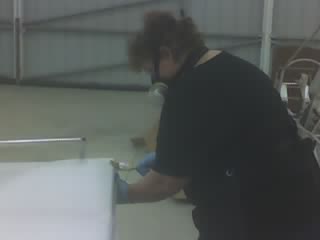
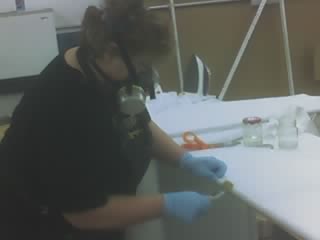
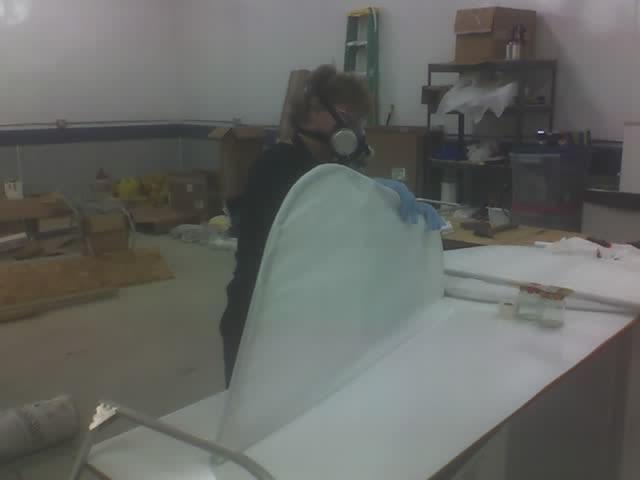
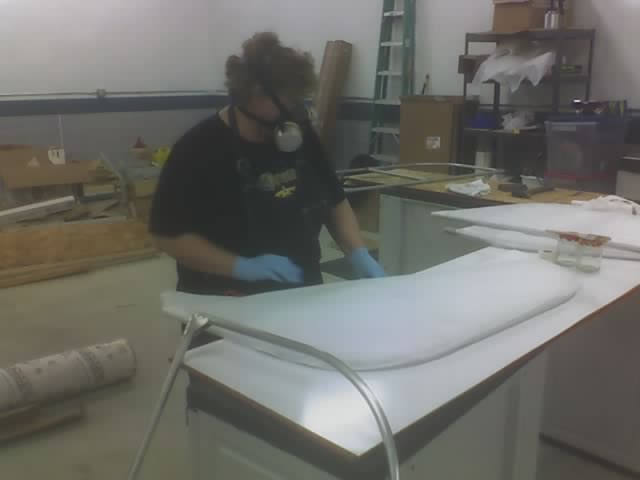
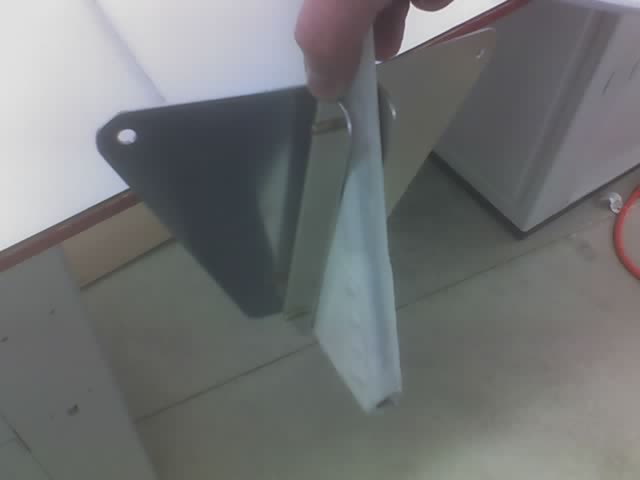
While wearing double nitrile gloves (in case the outer glove rips, which happens often) and a mask to prevent inhaling MEK fumes, coat the tubes of the piece to be covered with polytak where it will adhere to the fabric and lay fabric out on the piece to cover.
Rough cut the fabric so it is more than enough to wrap the piece where needed. The fabric must be able to get at least a semicircular portion of the tube in order to hold appropriately. This is one of the things that will be looked for upon final inspection by the FAA.
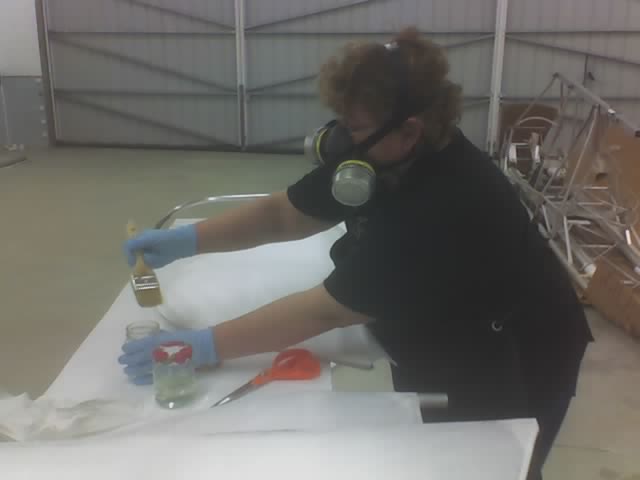
Saturate a natural bristle brush with MEK.
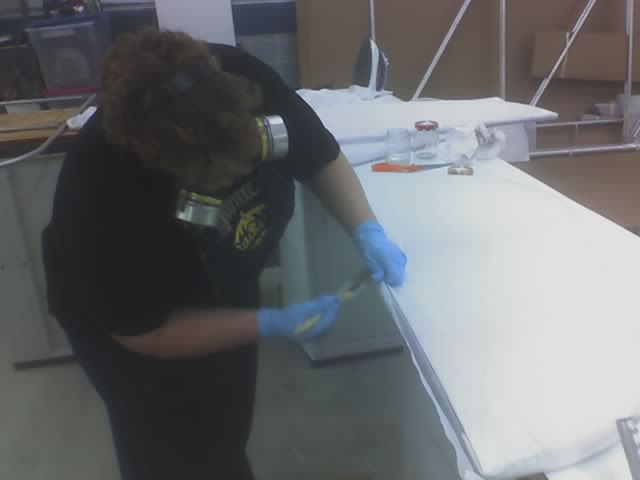
Use the brush to draw the polytak through the fabric and glue the fabric to the tube.
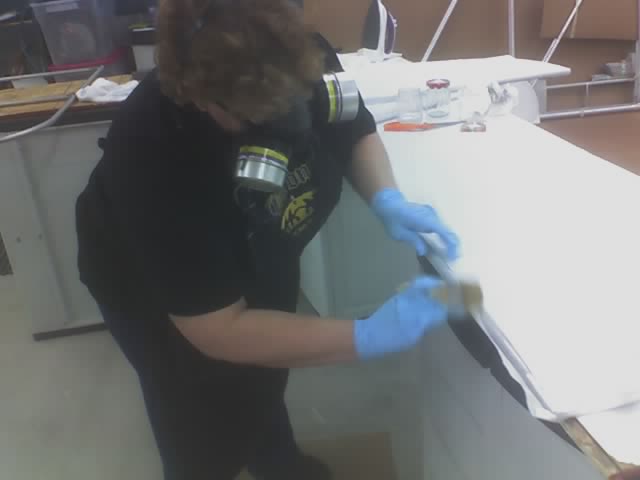
It is most important to keep wrinkles out of the bonded area where you are brushing.
Try to keep the fabric reasonbly tight elsewhere, but realize that ironing will shrink out sags and rolls.
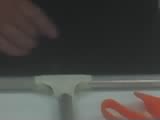
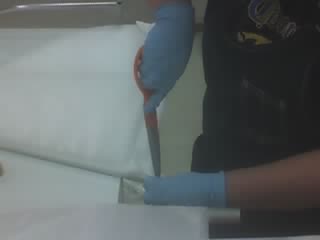
At the corners, use a mitre fold to wrap the fabric: Fold the end of the fabric flat over the end of th tube, leaving the fabric on either side to fold at a 45-degree angle. Then wrap the fabric already glued to the tube down against it. Trim the excess. Continue around the tube.
Cut off any fabric that is well beyond half way around.
It is easier to cover large flat parts with two pieces of fabric on opposite sides rather than paste on a stitched sock, although we did it both ways.
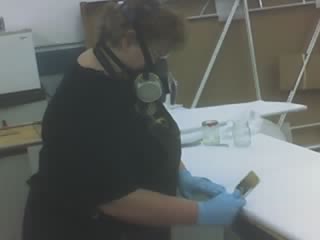
The second side goes on over the first in the same manner. Cover the fabric on the part with polytak while being careful not to unglue it from the part. Then us a brush saturated with MEK to draw the polytak through.
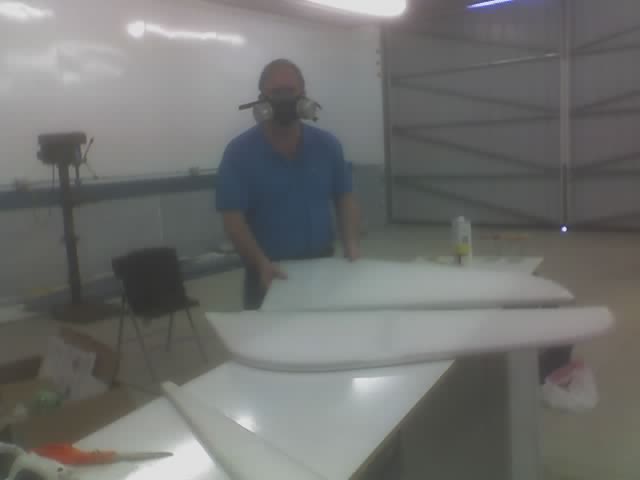
Check to make sure the piece is thoroughly glued and dried flat before ironing.
Iron first to 250F, including on the polytak. Try to get all the wrinkles out. Iron the non-glued areas to 350F as well as any persistent wrinkles in the tacked area. Realize that polytak melts at at little over 250F, so never heat a larged tacked area at once.
Once the tail feather pieces are glued and ironed, it is time to fit the hardware to them.
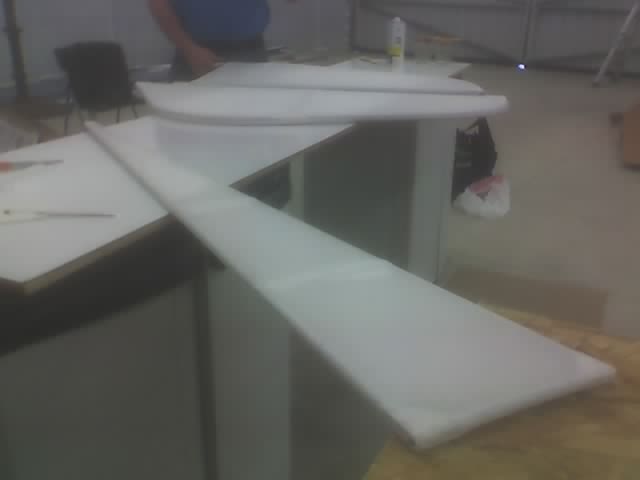
The first step will be to tape the hardware in place with masking/frog tape. Do NOT use a tape that leaves any kind of residue behind.
Mark each hole to be drilled with a pencil/pen or other instrument that will not damage the threads of the fabric. Then melt out a hole with a hot iron where any drilling is to take place. A soldering iron with a fine tip dedicated to this purpose does a good job. Drilling through the fabric risks a tear that can continue well past the hole at a later date. Better still is to drill the holes before adding the fabric, which is what we actually did per Don Zank's suggestion.
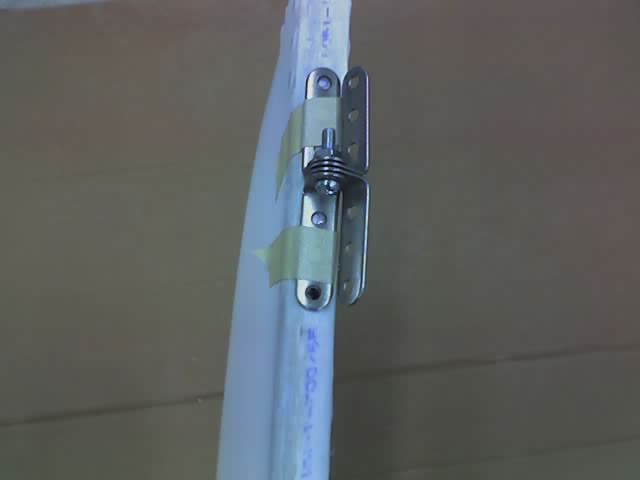
Riveted and assembled hinge.
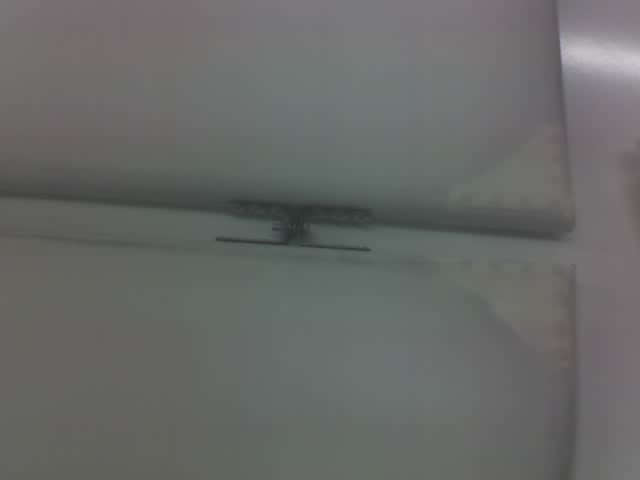
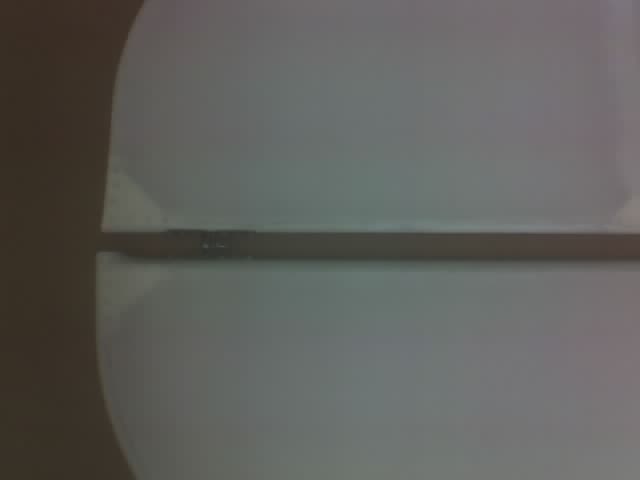
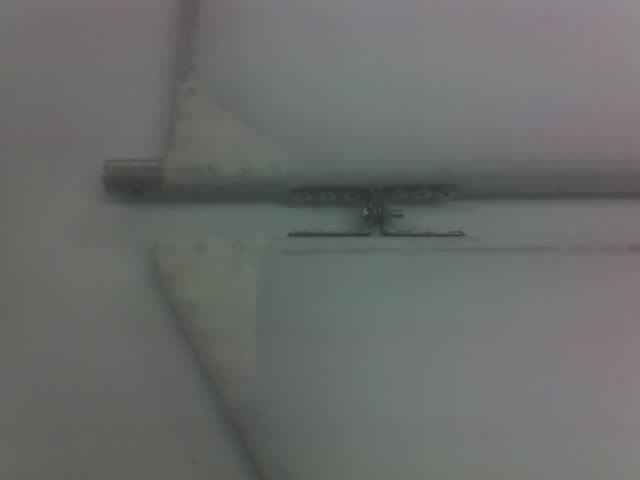
More distant view of hinge.
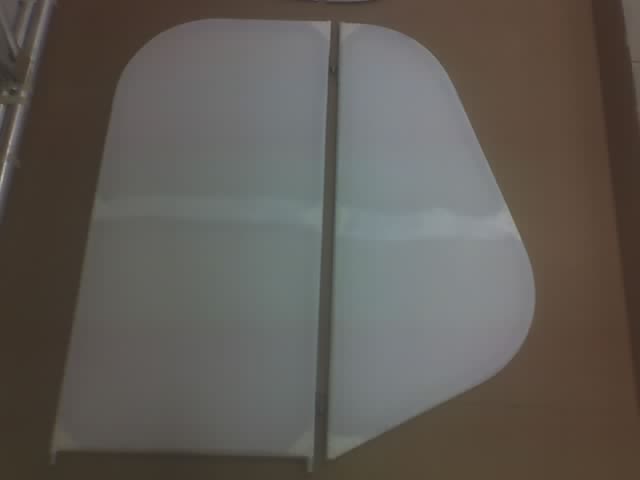
Assembled left horizontal stabilizer and elevator.
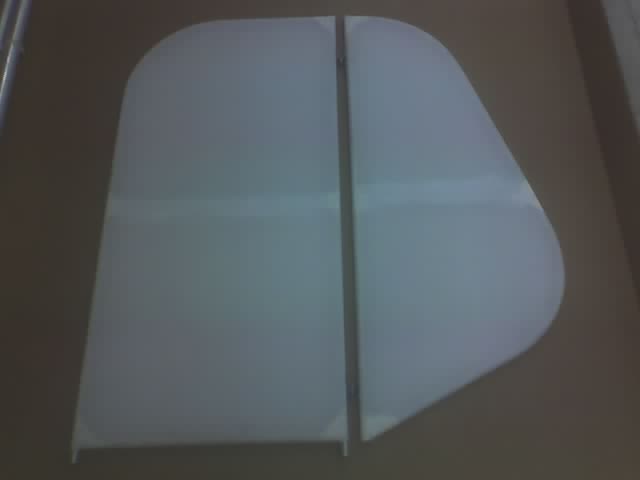
Assembled right horizontal stabilizer and elevator.
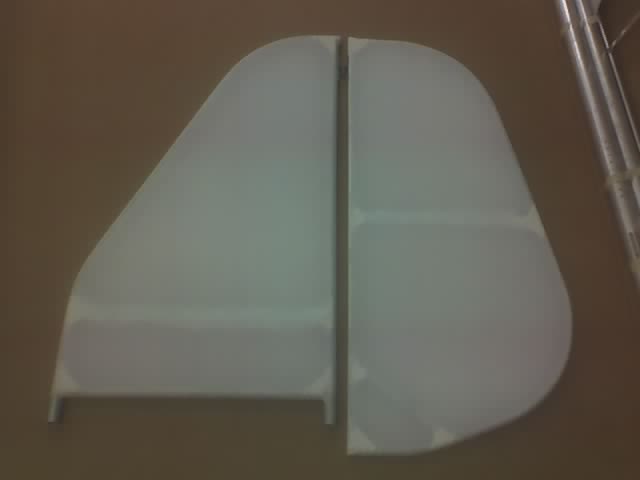
Assembled vertical stabilizer and rudder.
Adding the rudder control horns. Holes were drilled before covering; just had to melt through the fabric.